[ad_1]
Looking for a low-carb yogurt recipe that’s creamy, tangy, and packed with protein? Try making your own Greek yogurt using the Instant Pot and the cold start method. It’s easier than you think!
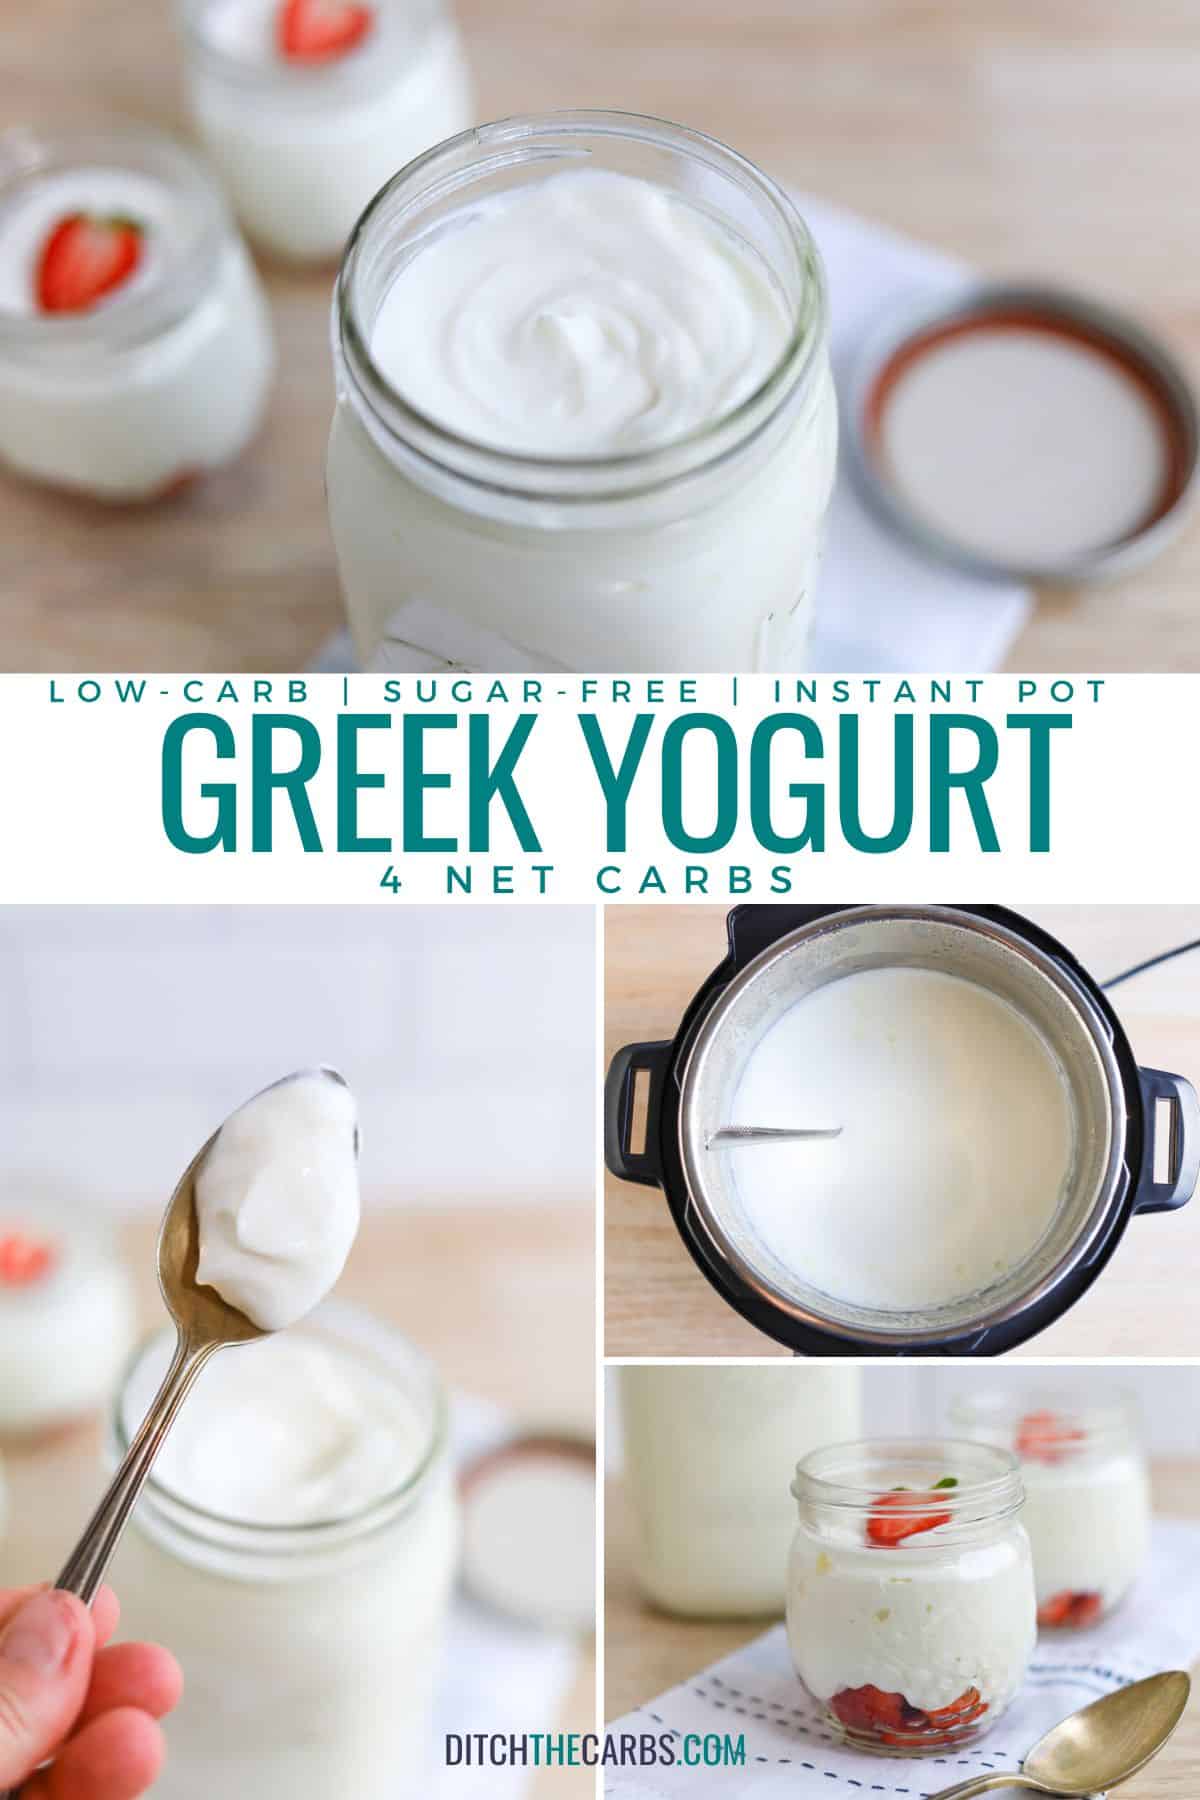
This low-carb yogurt recipe is deliciously thick and creamy. Perfect for breakfast, snacks, or even cooking and baking.
And, if you have purchased low carb yogurts in the past, I’ve got great news—this delicious, protein-packed treat is way more delicious than the store keto yogurt brands!
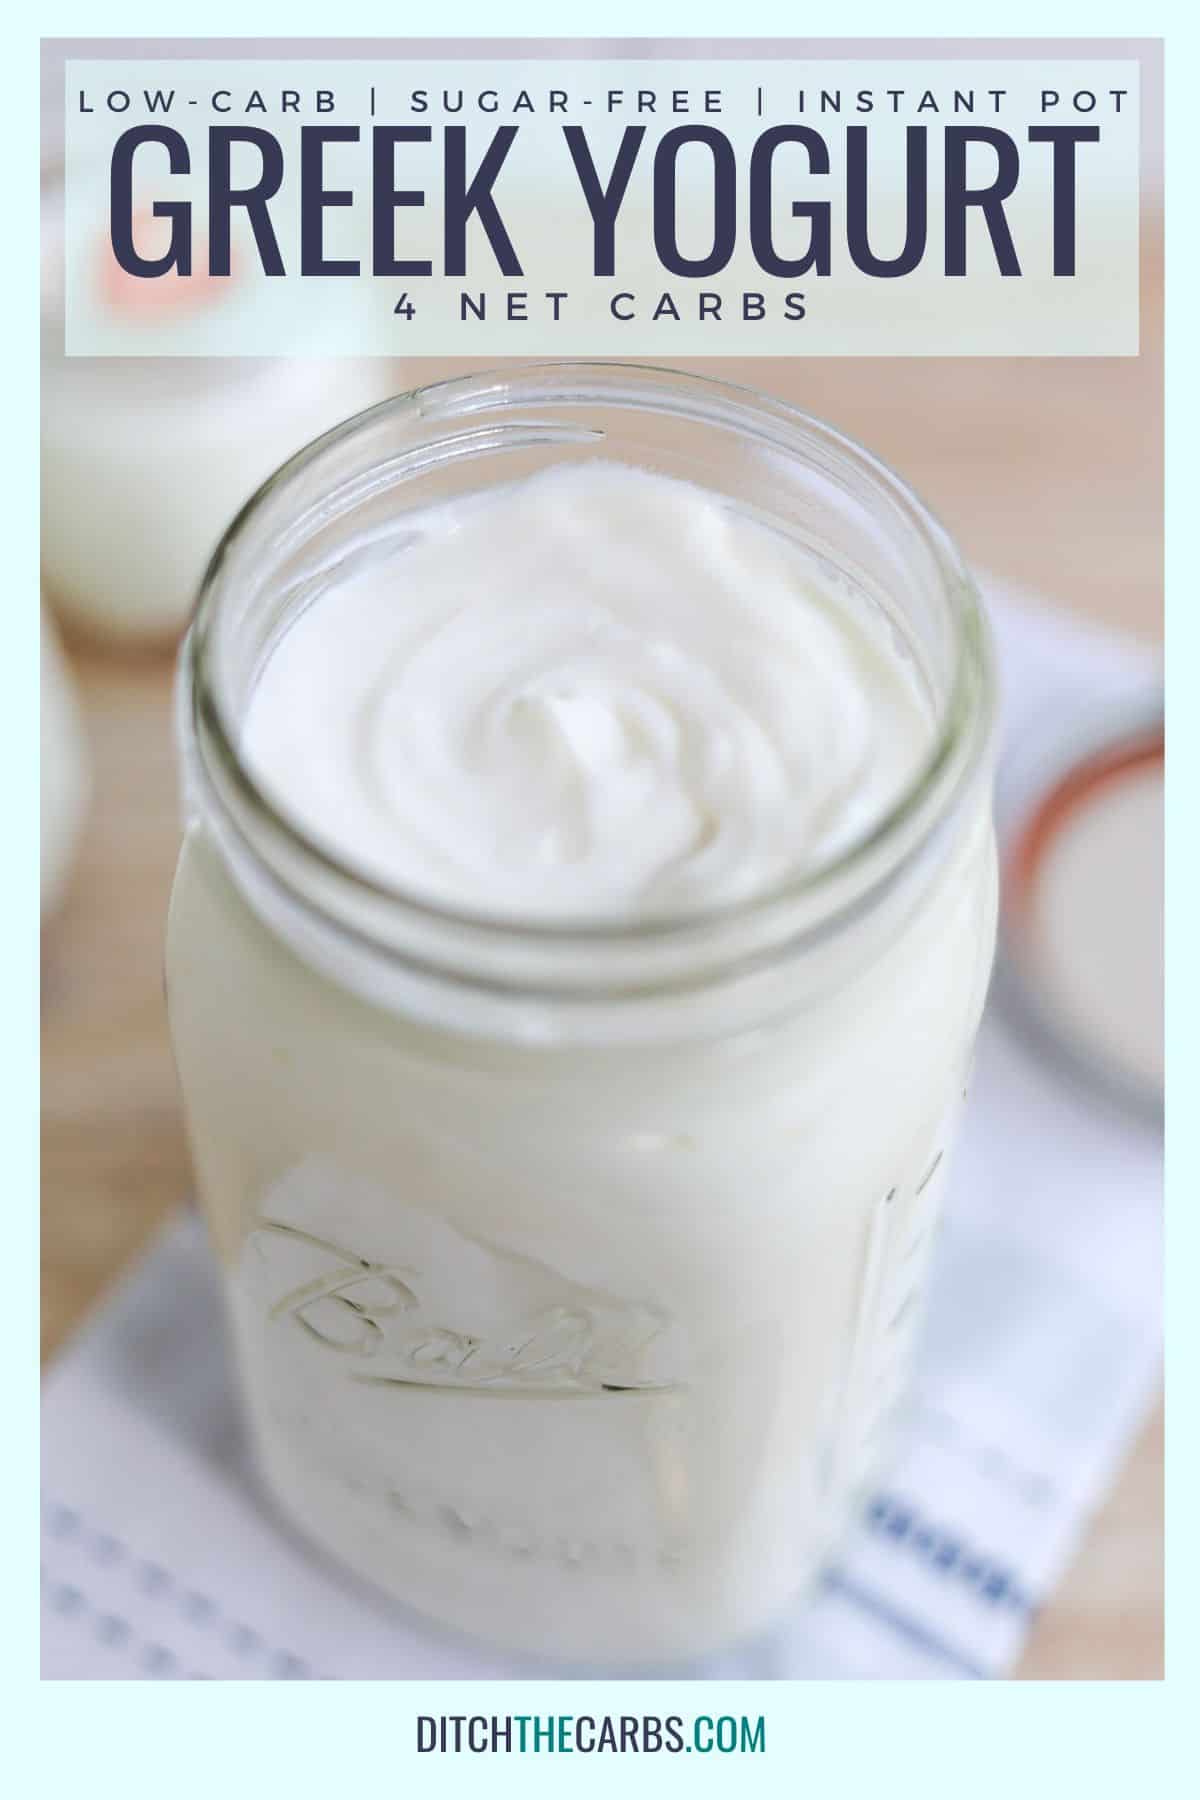
Homemade Greek yogurt is not just delicious in and of itself, but it is also a versatile ingredient that can be enjoyed in many ways. Eat it as a parfait or use it for cooking.
Outside of just eating yogurt, I use it frequently when making low-carb and keto diet recipes.
For instance, make this easy keto white bread or keto strawberry cheesecake in a mug using your low carb Greek yogurt. The options are endless!
Jump to:
Ingredients
Only two ingredients are needed to make plain Greek Instant Pot yogurt: milk and a starter yogurt. However, the type of milk and yogurt you choose is important.
You need to use ultra-pasteurized whole milk and a yogurt starter that has live cultures in it. Most Greek yogurt brands have live cultures in them but double-check the container to make sure. It should be clearly labeled.
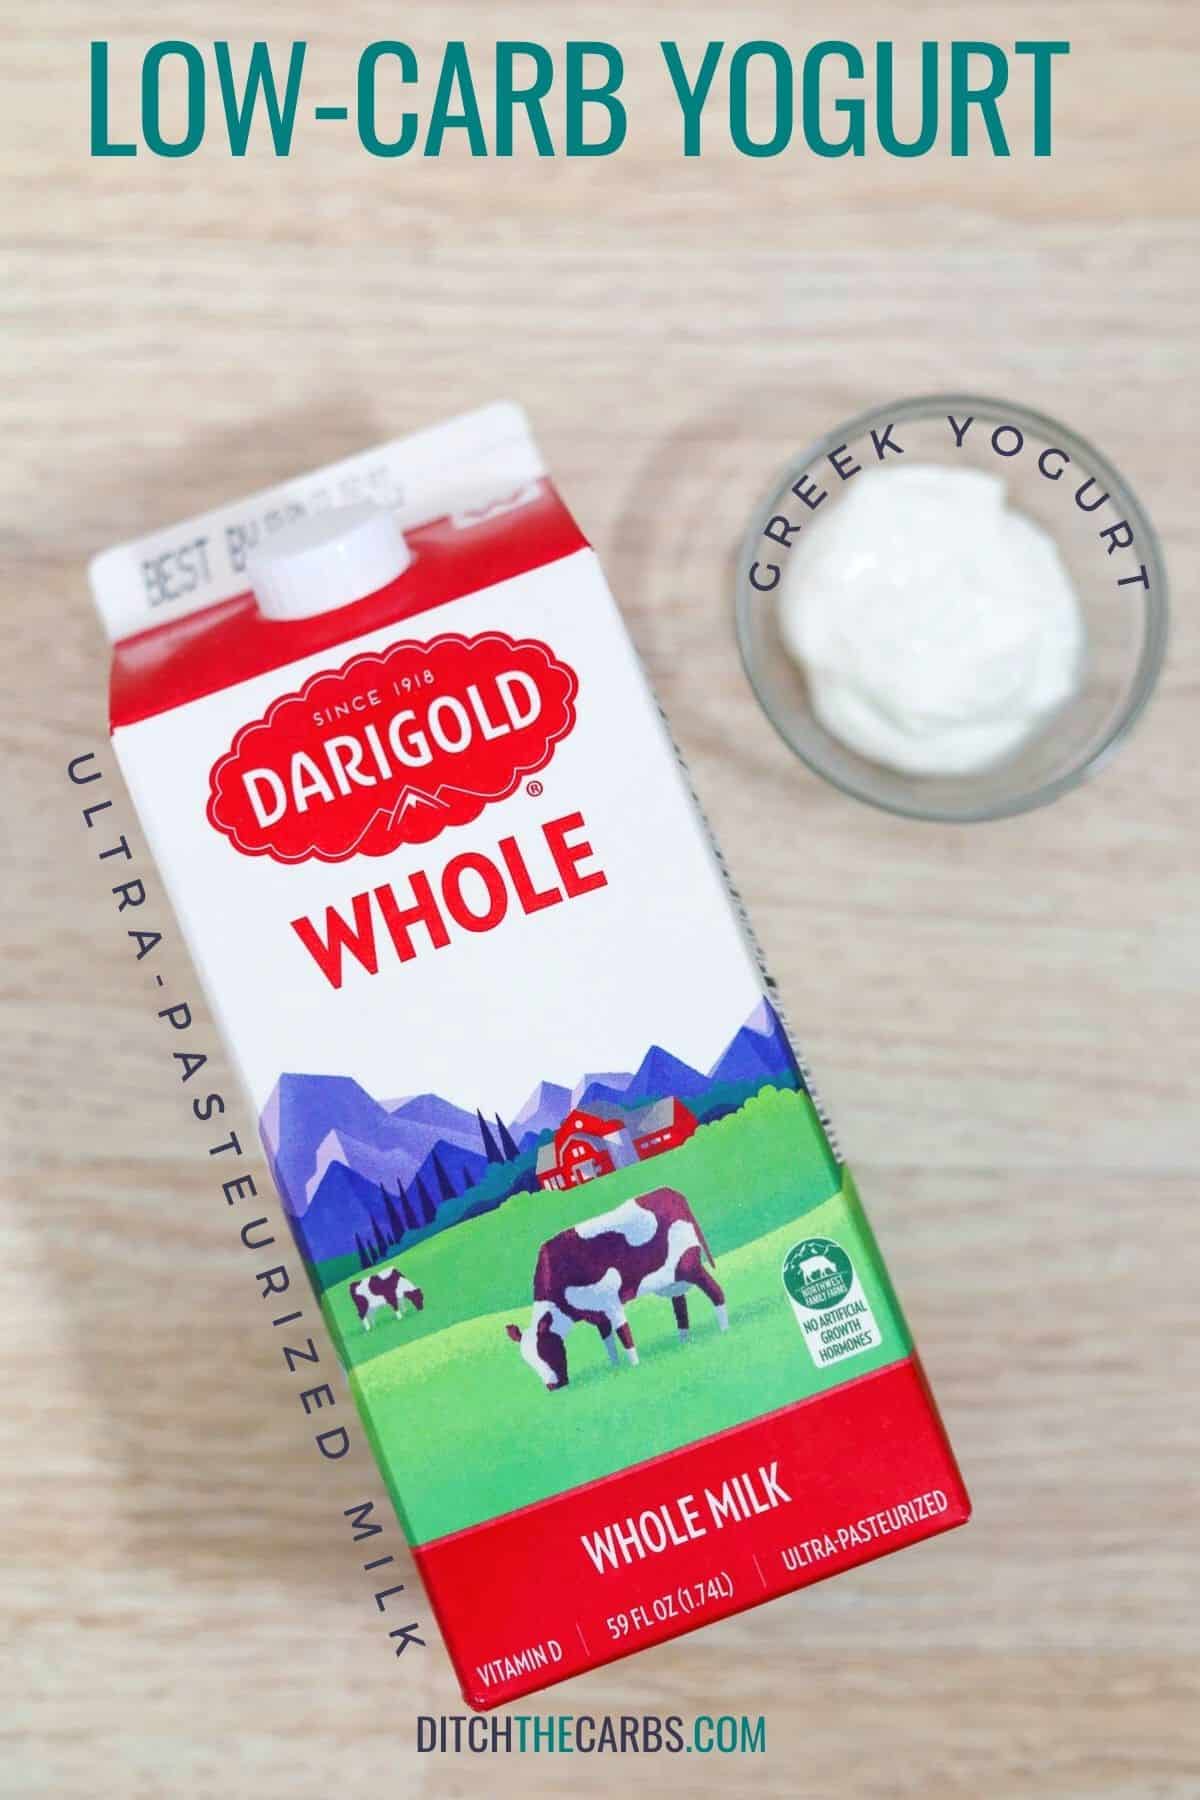
- Ultra-Pasteurized Whole Milk – is recommended when making yogurt in the Instant Pot using the cold start method because it has been heated to a higher temperature that helps to kill any bacteria or other microorganisms that could potentially interfere with the yogurt-making process. Also, as we are making full fat Greek yogurt, we’ll use whole milk rather than skim or 2%.
- Plain Greek Yogurt with Live Active Yogurt Cultures – acts as the starter culture to inoculate the milk with beneficial bacteria. You don’t need a lot, and you’ll really only use it the first time you make the yogurt.
See the recipe card below for quantities.
Instructions
Timing is everything when making Greek style yogurt in the Instant Pot. It doesn’t take a lot of active time, but there are some long waits.
Because of this, I recommend starting the yogurt at night before bed or first thing in the morning. Avoid starting it mid-day unless you want to be up all night.
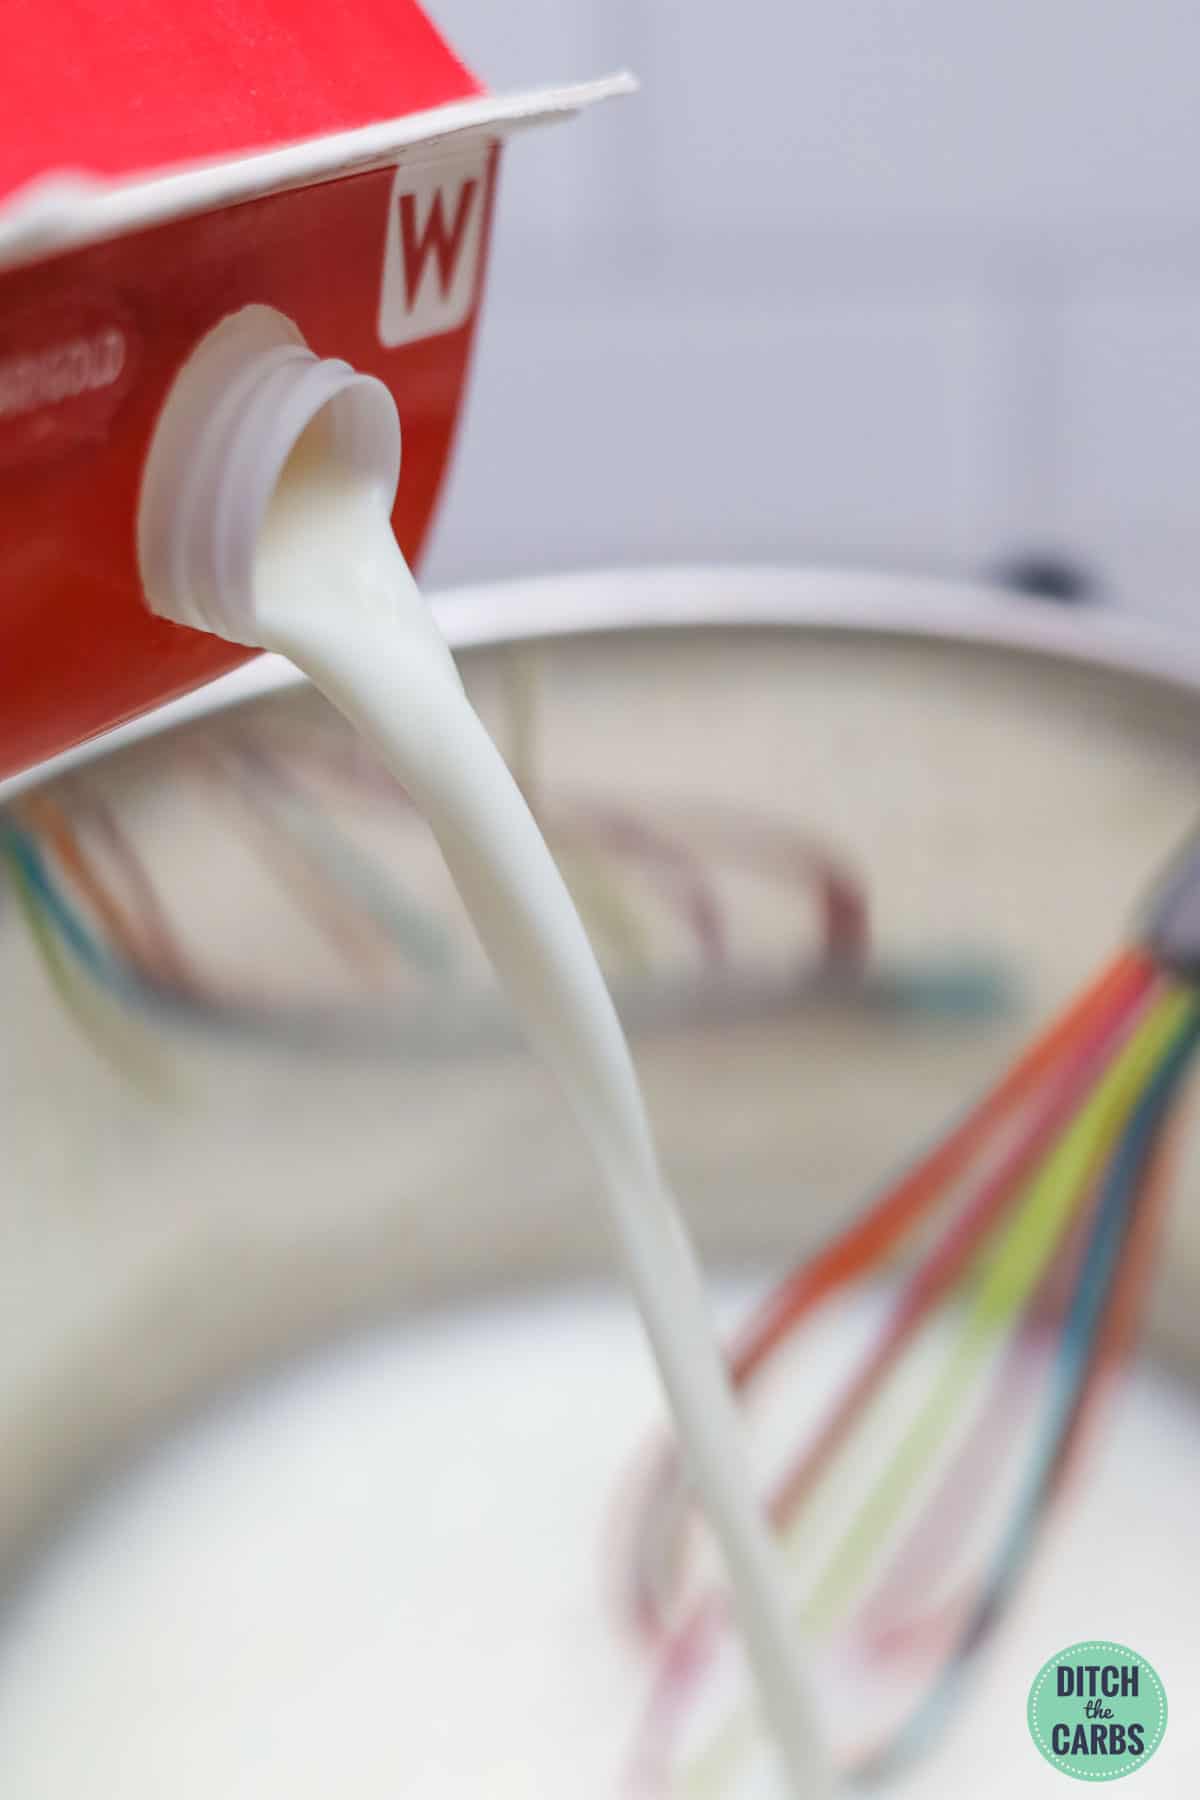
In the Instant Pot, whisk together a cup of full fat milk and 2 tablespoons of Greek yogurt until well combined. Then whisk in the rest of the milk. This makes it easier to thoroughly combine the yogurt and milk.
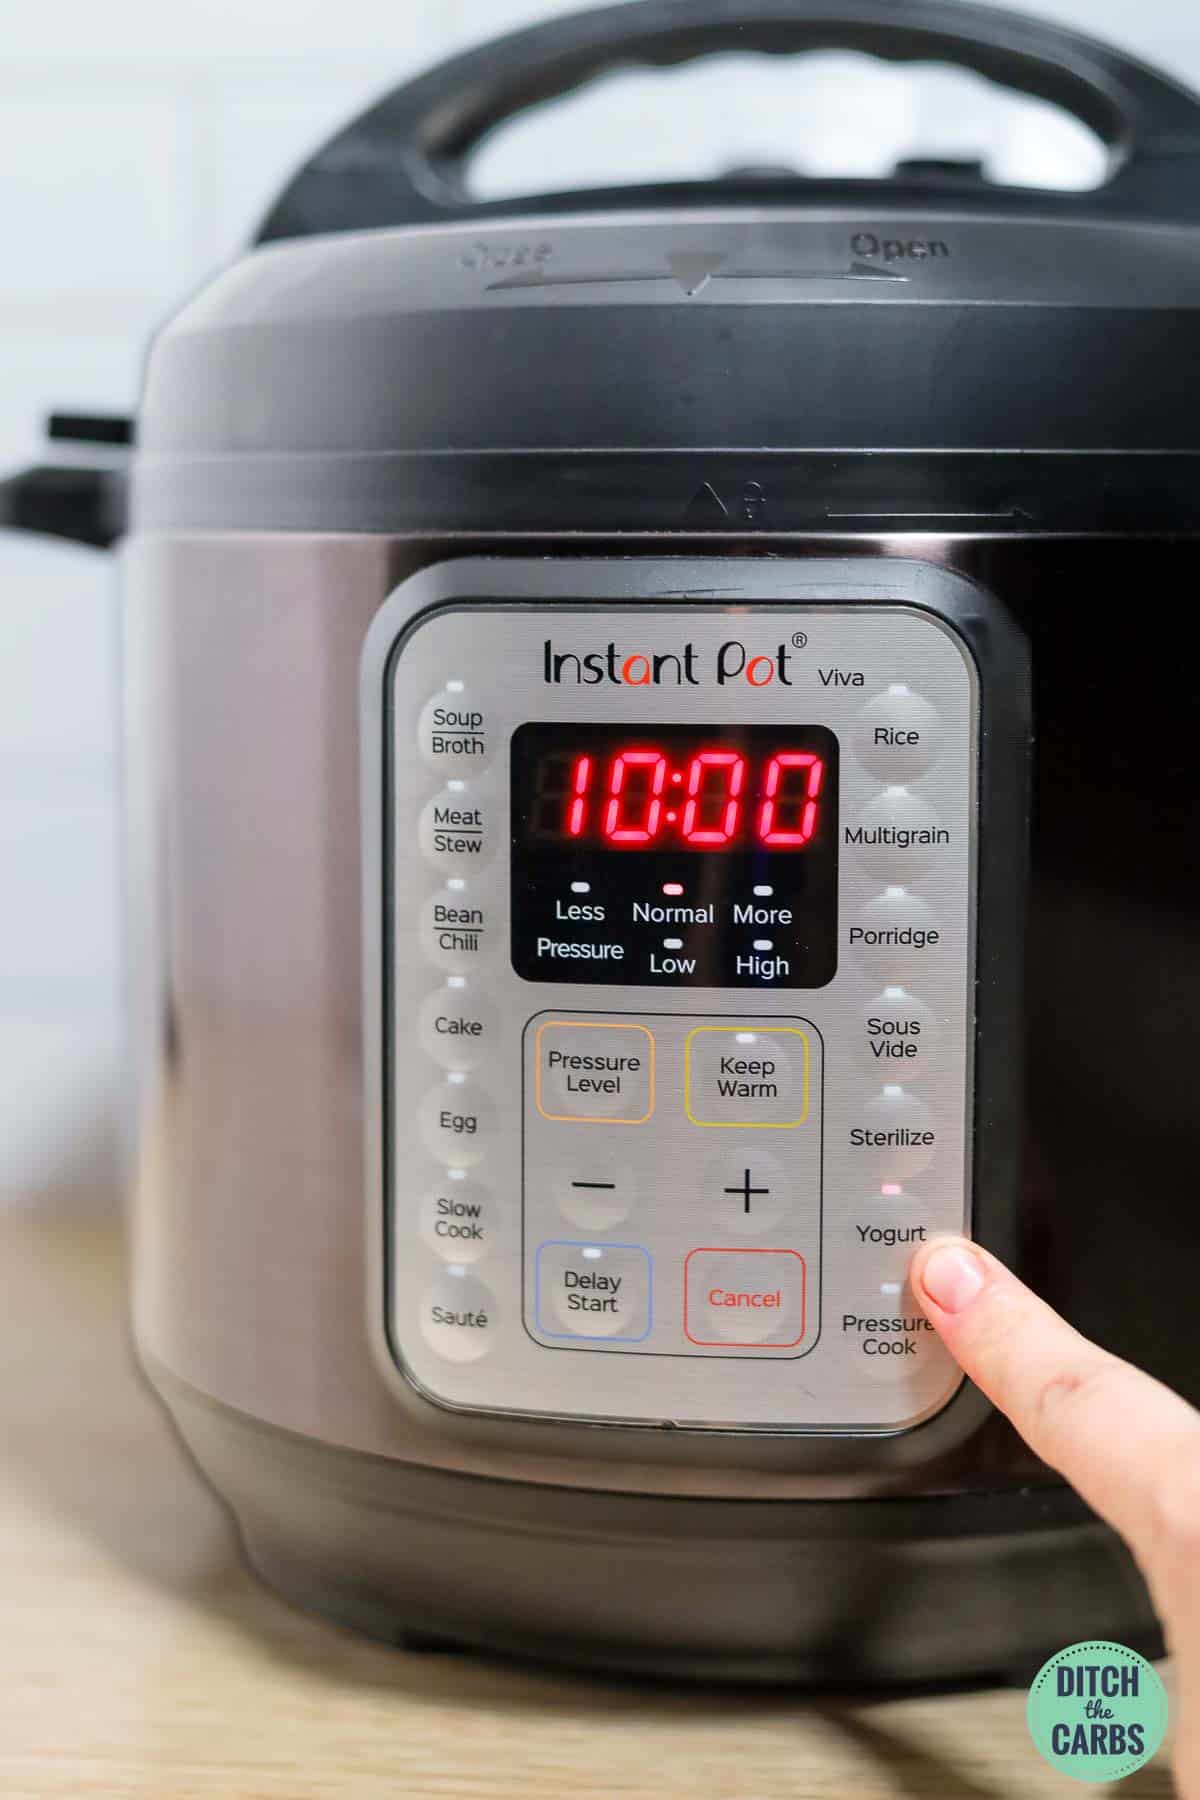
Close the Instant Pot lid and press the “Yogurt” button, then press “+” to adjust the time. The incubation period for Greek yogurt is between 10-12 hours. The Instant Pot will beep and then the timer will start counting. Do not remove the lid or stir during the incubation period.
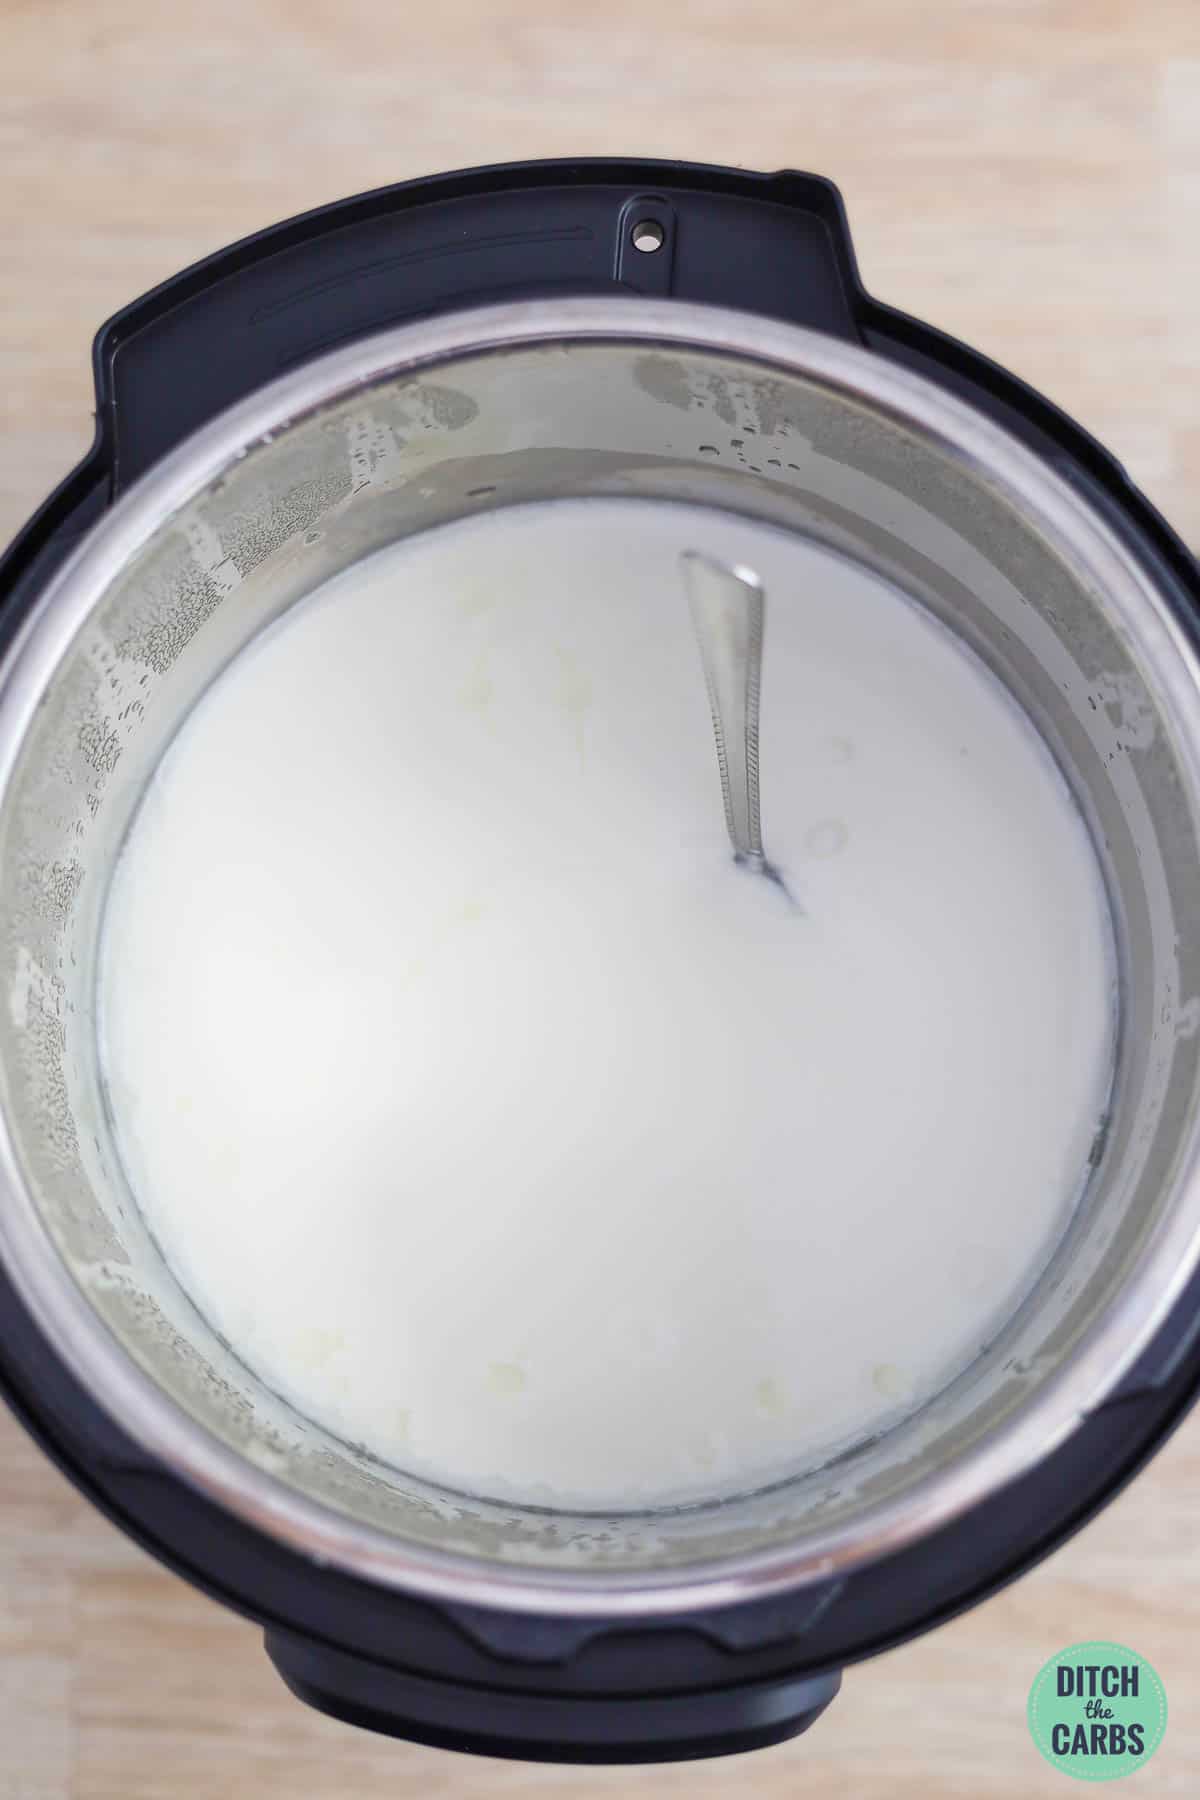
After incubation, remove the lid check to make sure your yogurt has set, and taste your yogurt. If it is not tangy enough incubate it for another hour. Your yogurt will be thick, but not yet Greek yogurt consistency.
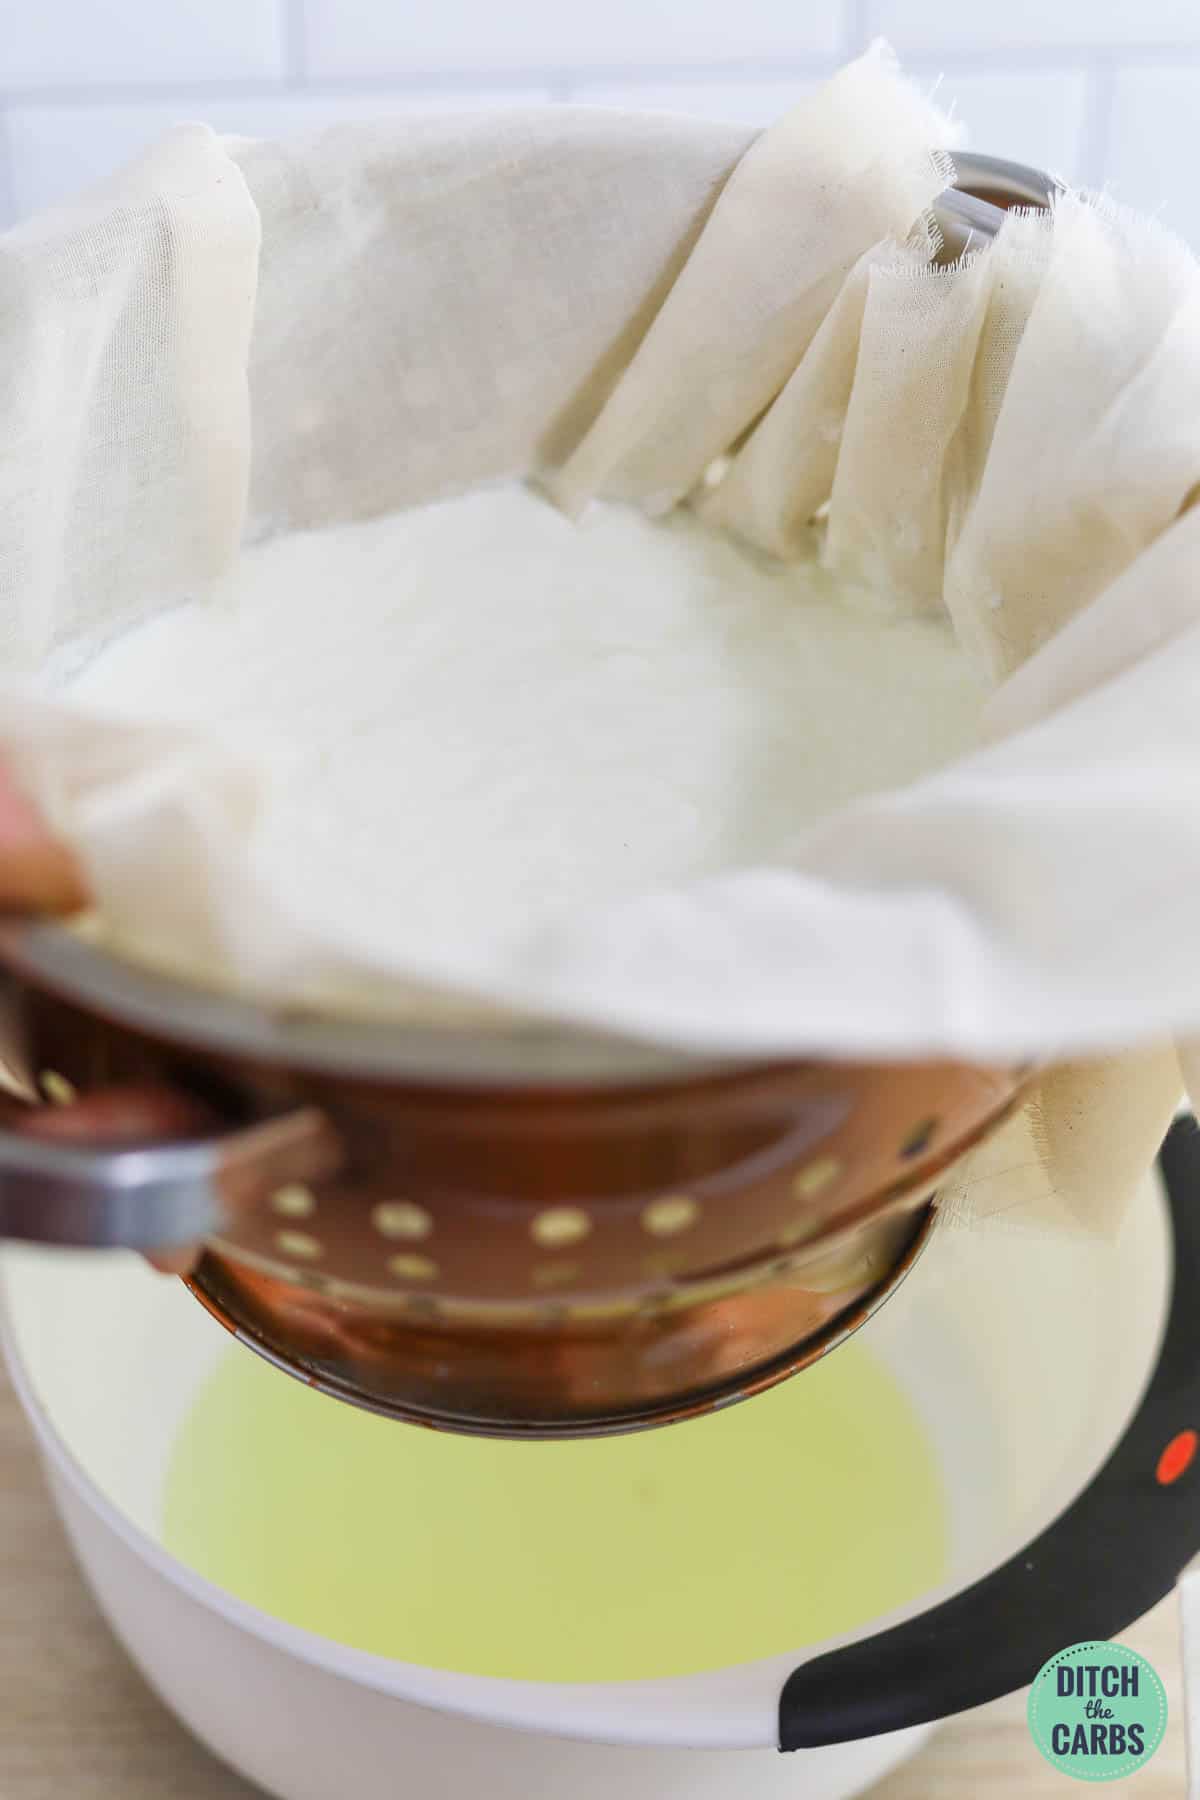
Now, it is time to cool and strain the yogurt. To strain, place a colander into a mixing bowl and line it with a cheesecloth or coffee filters. Pour the yogurt into the colander and place the whole thing into the refrigerator. Let the yogurt cool and strain for 2-4 hours. The longer it strains the thicker the yogurt will be.
When the yogurt reaches your desired thickness store the yogurt in an airtight container in the refrigerator for up to 2 weeks.
Hint: Reserve a portion of the yogurt to use as a starter for your next batch of yogurt.
Substitutions
With only two ingredients, there aren’t a lot of substitutions you can make. You cannot substitute ultra-pasteurized milk for regular milk, but you can make some changes use nut milk instead.
- Milk – use low-carb milk alternatives such as unsweetened almond milk, coconut milk, or macadamia nut milk.
- Yogurt – use a store-bought yogurt made with almond milk instead of regular Greek yogurt. You can also use a powdered yogurt starter culture that is specifically formulated for making low-carb and keto friendly yogurt.
Please note that the carbohydrate content may vary based on the specific ingredients used and the straining process.
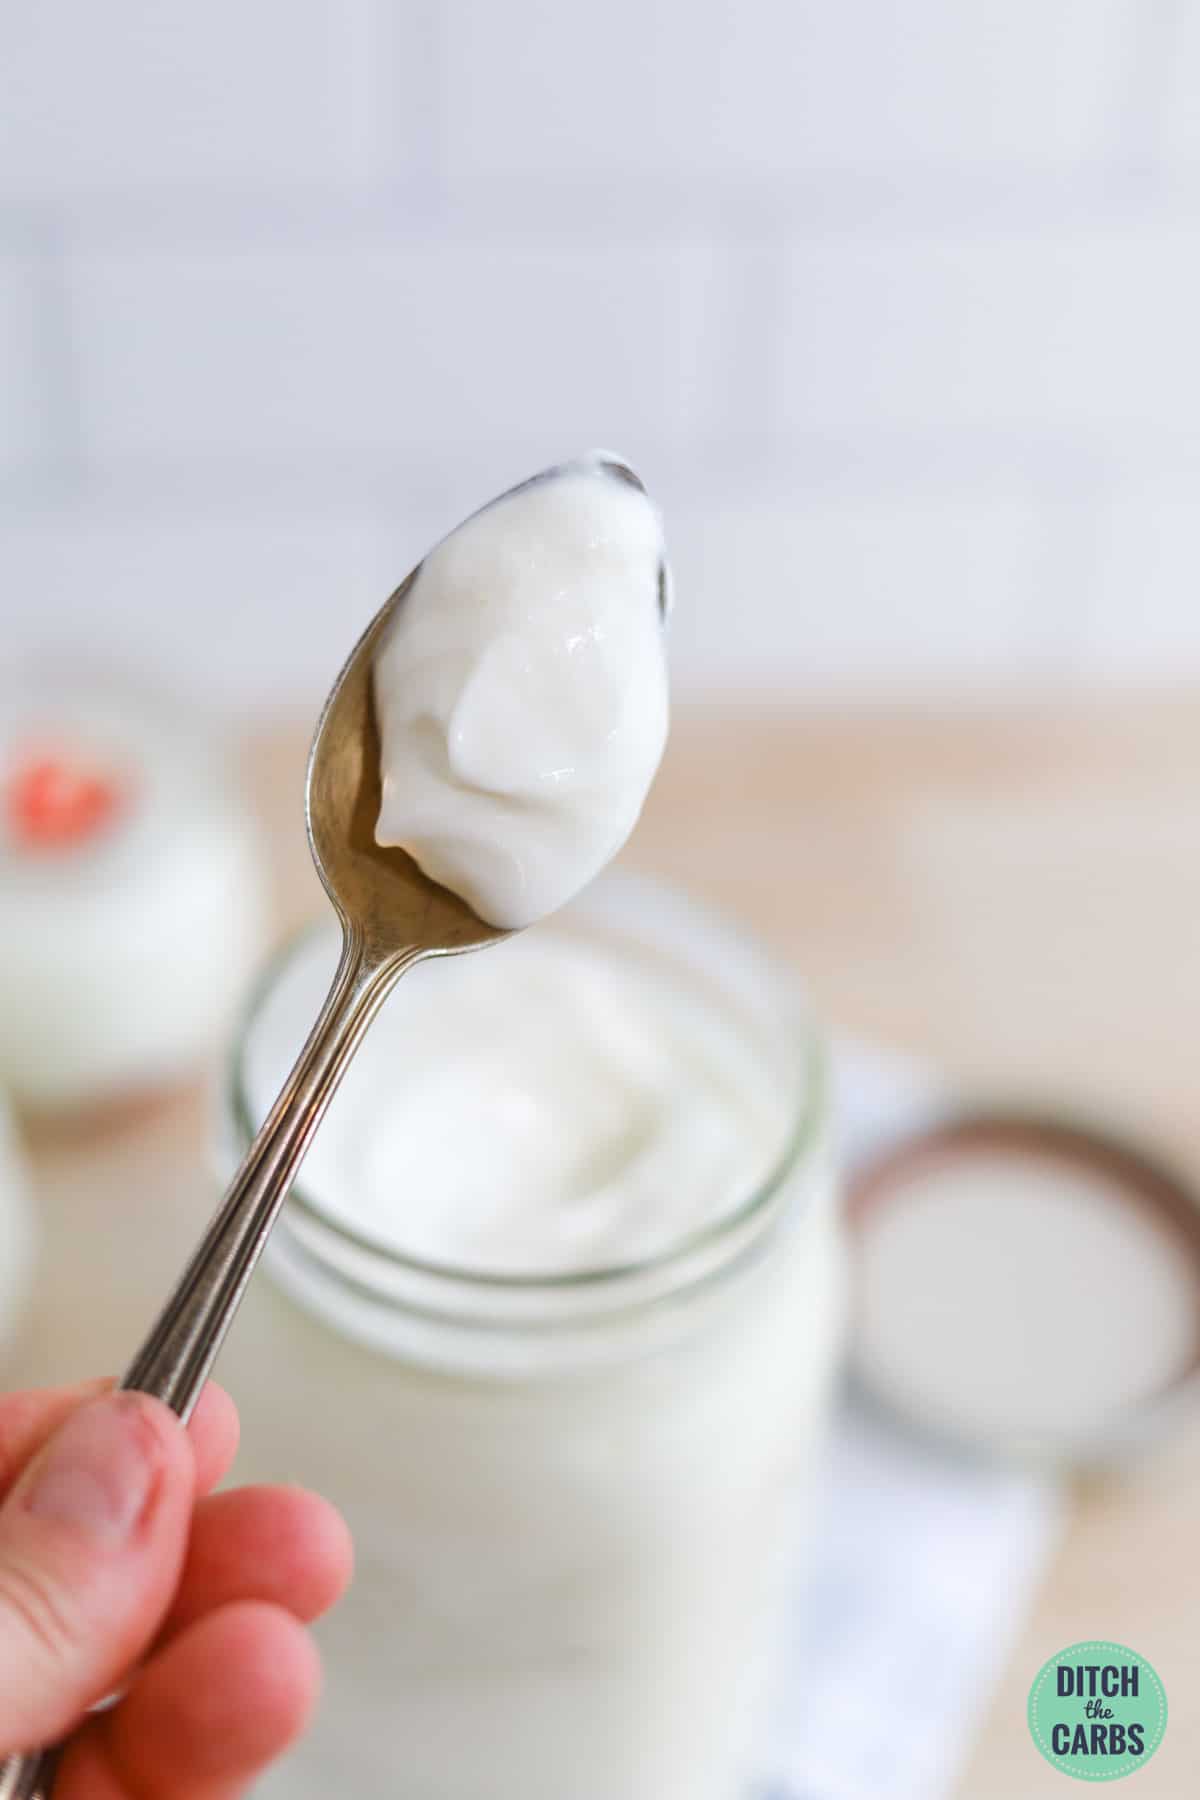
Variations
Remember how I said this plain yogurt is incredibly versatile? Here are five low-carb flavor variations for homemade Greek yogurt:
- Vanilla – Add a few drops of vanilla extract and a sweetener of your choice, such as stevia or erythritol, to the yogurt for a deliciously sweet and creamy vanilla flavor.
- Cinnamon – Stir in a pinch of ground cinnamon and some sweetener to the yogurt for a warm and flavorful option.
- Lemon – Add a few drops of lemon juice or lemon juice concentrate and some grated lemon zest to the yogurt for a tangy and refreshing twist.
- Chocolate – Mix in a small amount of unsweetened cocoa powder and sweetener for a rich and decadent chocolate flavor that’s perfect for a dessert or snack.
- Savory herbs – Mix in chopped fresh herbs such as dill, parsley, or chives for a low-carb savory option that pairs well with vegetables and keto crackers.
Want more ideas? Use this anywhere you would use sour cream. Top this Cheesy Keto Taco Casserole on my website with a dollop of plain low-carb yogurt!

Equipment
To make this recipe, you will need the following equipment:
- Instant Pot – This electric pressure cooker is used to heat and incubate the milk and yogurt mixture.
- Whisk – A whisk is used to mix the milk and yogurt starter culture together thoroughly.
- Measuring cups and spoons – These are used to accurately measure the ingredients.
- Strainer and cheesecloth – A strainer and cheesecloth are used to strain the yogurt and remove excess whey, resulting in a thicker and creamier Greek yogurt.
- Storage containers – Clean and sterile glass jars or containers with lids are used to store the finished yogurt in the refrigerator.
Storage
To store homemade Greek yogurt, transfer the yogurt to clean and sterile glass jars or containers with lids and refrigerate it. The yogurt will keep for up to 2 weeks in the refrigerator.
It’s important to note that as the yogurt sits in the refrigerator, it may continue to thicken and become more tangy in flavor. If you prefer a thinner consistency, you can stir in a small amount of milk to the yogurt before serving.
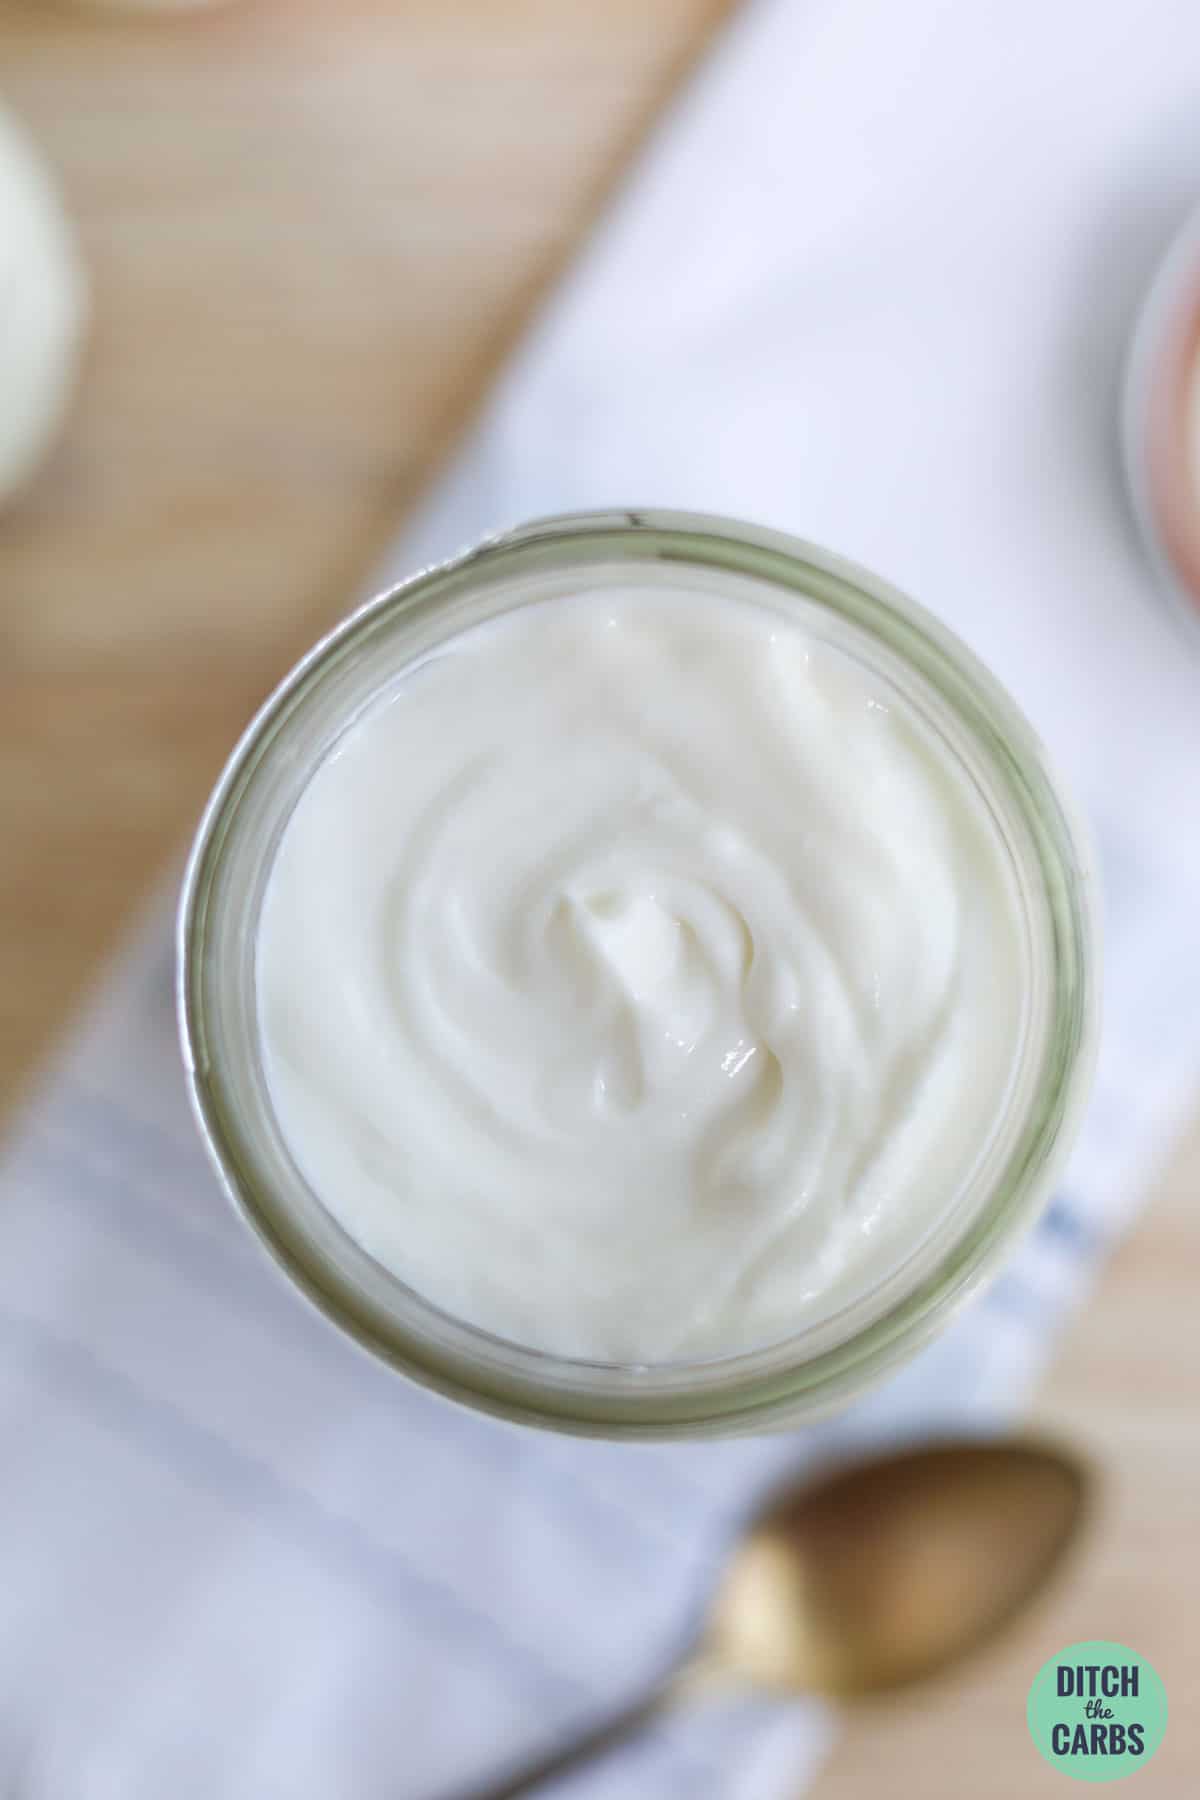
Top tip
You can use some of the yogurt made from this recipe as a starter culture for another batch of yogurt. Simply reserve 2 tablespoons of the finished yogurt and store it in the refrigerator to use as the starter for your next batch. Be sure to use it within 2 weeks.
FAQ
There are plenty of delicious keto-friendly toppings that you can add to your low-carb Greek yogurt to enhance its flavor and nutrition. A few ideas include:
– fresh or frozen berries (or other low carb fruits)
– chopped nuts
– unsweetened coconut flakes
– chia seeds
– hemp seed
– cocoa nibs
– cinnamon
– low carb granola
– sweeteners like stevia leaf extract or monk fruit
With proper care and storage, you can typically use the starter culture for up to 3-4 batches of yogurt.
However, it’s important to monitor the consistency, texture, and taste of each batch of yogurt to ensure that the starter is still active and producing good results.
If you notice any changes in the quality of the yogurt or if it fails to set properly, it may be time to use a fresh batch of starter culture with store-bought yogurt.
While it’s not recommended to freeze the yogurt starter, you can extend its life by storing it in the freezer for up to 3 months.
To freeze the yogurt starter, transfer it to an airtight container or freezer bag, and make sure to remove as much air as possible.
When you’re ready to make another batch of yogurt, thaw the starter in the refrigerator overnight before using it.
Keep in mind that freezing may affect the viability of the bacteria in the starter culture, which could impact the quality of the yogurt.
For best results, it’s recommended to use fresh starter culture whenever possible. Just be mindful of portion sizes and the carb count of your chosen toppings, and enjoy your delicious and nutritious low-carb yogurt!
Most flavored yogurts that you’ll find in stores are not considered keto-friendly, as they typically contain added sugars, artificial sweeteners, and high-carb fruit or flavorings.
These ingredients can add up quickly and push the carb count of flavored yogurt well beyond what is considered acceptable for a ketogenic diet.
However, you can make your own flavored yogurt at home using low-carb sweeteners and natural flavorings to fit within your keto macros.
Plain Greek store-bought yogurt is generally keto-friendly. You can add flavor variations and sweeteners to the yogurt yourself that are keto-friendly. Try flavoring with different flavored extracts and mixing in a bit of sweetener.
The carbohydrate content in yogurt comes mainly from the naturally occurring lactose, a type of sugar found in milk. During the fermentation process used to make yogurt, the live and active cultures (probiotics) consume some of the lactose, which results in a decrease in the carbohydrate content.
When the yogurt is strained, some of the lactose-containing whey is removed, which results in yogurt that is higher in protein and lower in carbohydrates compared to unstrained yogurt or milk.
Ultra-pasteurized milk is recommended when making yogurt in the Instant Pot using the cold start method because it has been heated to a higher temperature that helps to kill any bacteria or other microorganisms that could potentially interfere with the yogurt-making process.
Looking for other recipes like this? Try these:
📖 Recipe

Please rate this recipe.
Low-Carb Yogurt
This low-carb yogurt recipe is deliciously thick and creamy. Perfect for breakfast, snacks, or even cooking and baking.
Servings: 12 servings
NET carbs: 4g
Review Recipe
Print
Pin
Calculate ingredients
Adjust servings: 12 servings
Prevent your screen from going dark
Instructions
-
In the Instant Pot, whisk together a cup of milk and 2 tablespoons of Greek yogurt until well combined. Then whisk in the rest of the milk. This makes it easier to thoroughly combine the yogurt and milk.
-
Close the Instant Pot lid and press the “Yogurt” button, then press “+” to adjust the time. The incubation period for Greek yogurt is between 10-12 hours. Choose 10 hours for a mildly tangy yogurt. Increase the time for a tangier flavored yogurt.The Instant Pot will beep and then the timer will start counting up. Do not remove the lid or stir during the incubation period.
-
After incubation, remove the lid check to make sure your yogurt has set, and taste your yogurt. If it is not tangy enough incubate it for another hour. Your yogurt will be thick, but not yet Greek yogurt consistency.
-
Now, it is time to cool and strain the yogurt. To strain place a colander into a mixing bowl and line it with a cheesecloth or coffee filters. Pour the yogurt into the colander and place the whole thing into the refrigerator. Let the yogurt cool and strain for 2-4 hours. The longer it strains the thicker the yogurt will be.
-
When the yogurt reaches your desired thickness store the yogurt in an airtight container in the refrigerator for up to 2 weeks. Reserve a portion of the yogurt to use as a starter for your next batch of yogurt.

Nutrition Facts
Low-Carb Yogurt
Serving Size
0.5 cups (makes 12 servings)
Amount per Serving
% Daily Value*
–
* Percent Daily Values are based on a 2000 calorie diet.
YOUR HOLIDAY PANTRY & GIFT GUIDES
.

Approximate nutrition information is provided for convenience and as a courtesy only. For the most accurate nutritional data, use the actual ingredients and brands you used in your preferred nutrition calculator.
Food safety
We sometimes take for a granted that we have years (or decades) of cooking experience, that the average visitor may not. Add to, or remove from, the list below with health and safety tips.
- Cook to a minimum temperature of 165 °F (74 °C)
- Do not use the same utensils on cooked food, that previously touched raw meat
- Wash hands after touching raw meat
- Don’t leave food sitting out at room temperature for extended periods
- Never leave cooking food unattended
- Use oils with high smoking point to avoid harmful compounds
- Always have good ventilation when using a gas stove
See more guidelines at USDA.gov.
[ad_2]
Source link

